Create a Digital Garden using Jekyll for FREE!
Digital Gardens are fantastic tools for documenting your knowledge and expanding your skills. They act as dynamic portfolios that evolve alongside your learning journey.
Learn how to effortlessly create and share your own Digital Garden for free using Jekyll, the Chirpy Theme, and Github Pages.
Install Jekyll
*Use Jekyll Installation Guide to install Jekyll and its dependencies
You will need these to customize and deploy Jekyll
- GitHub Account
- Git
- VSCode - or your preferred code editor
Use the Chirpy Theme to create and deploy the site
Step 1: Clone the chirpy-starter GitHub repo
- Name your repository
<username>.github.io(replaceusernamewith your github username). - Select
Public>Create Repository
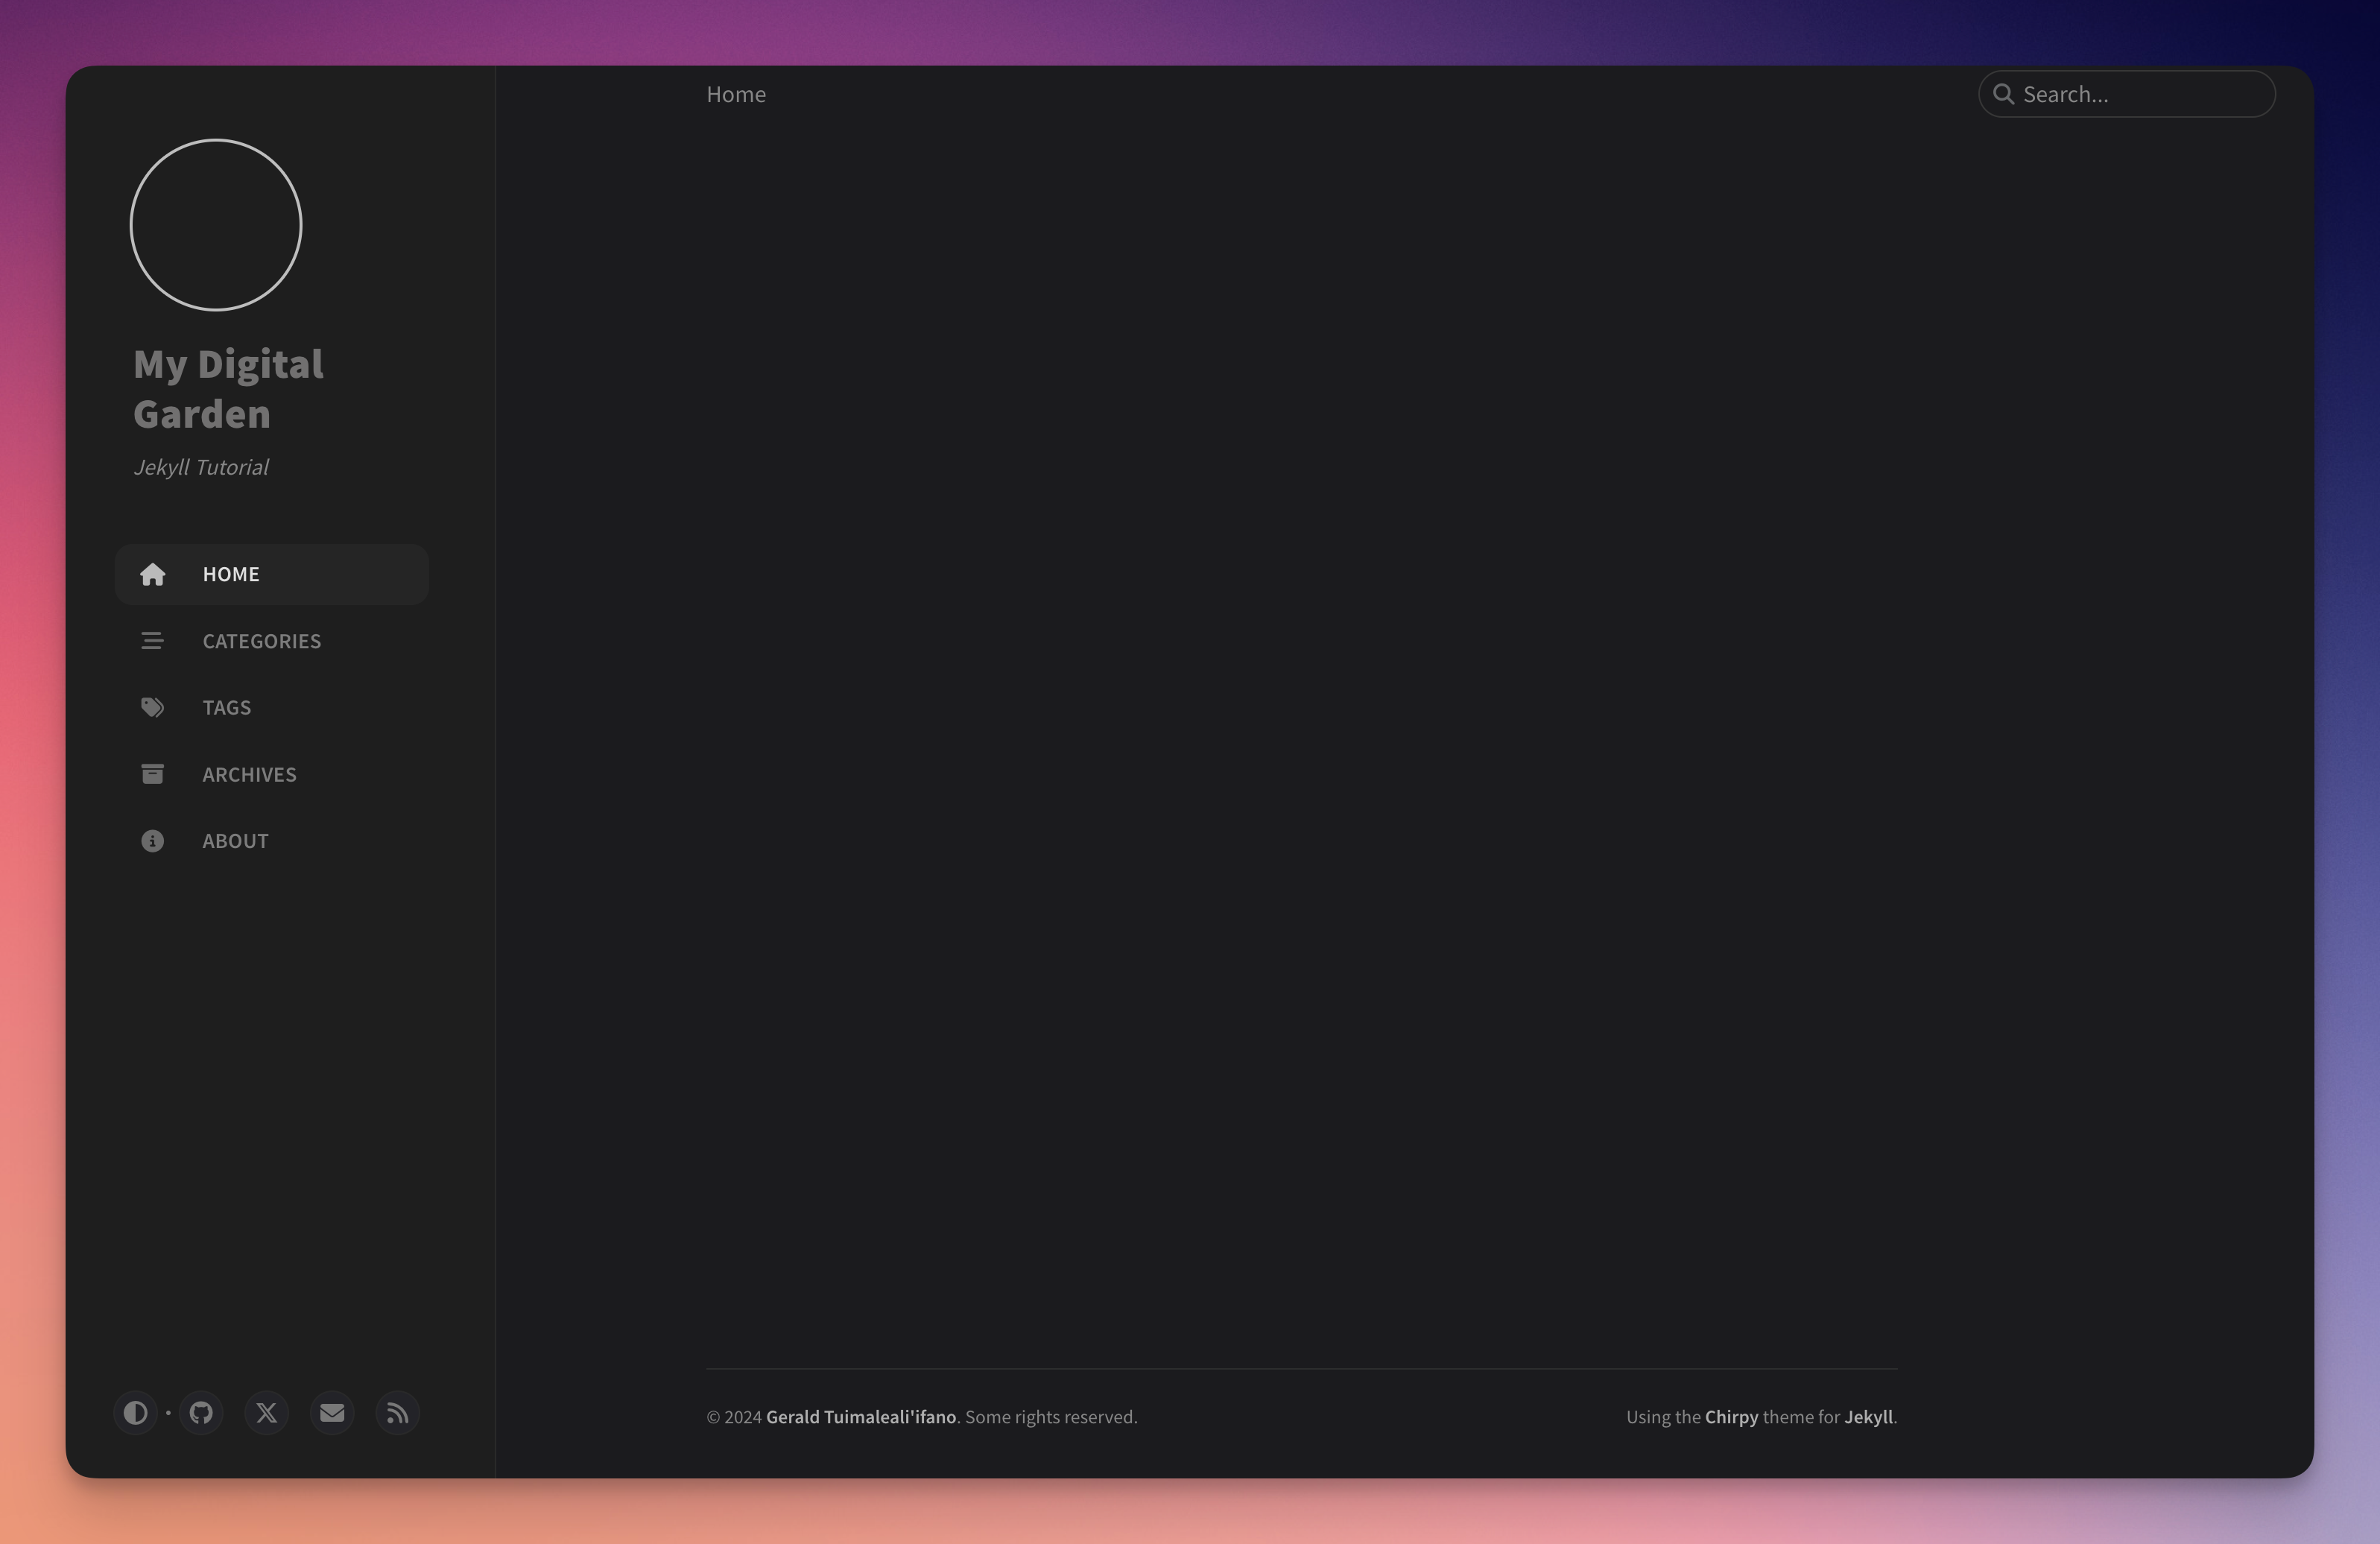
Step 2: Your website is up and running! 🎉
By the time you finish reading this line, your website would’ve already been published to GitHub pages and available on https://<username>.github.io
What are you waiting for? Go ahead and check it out 🙂
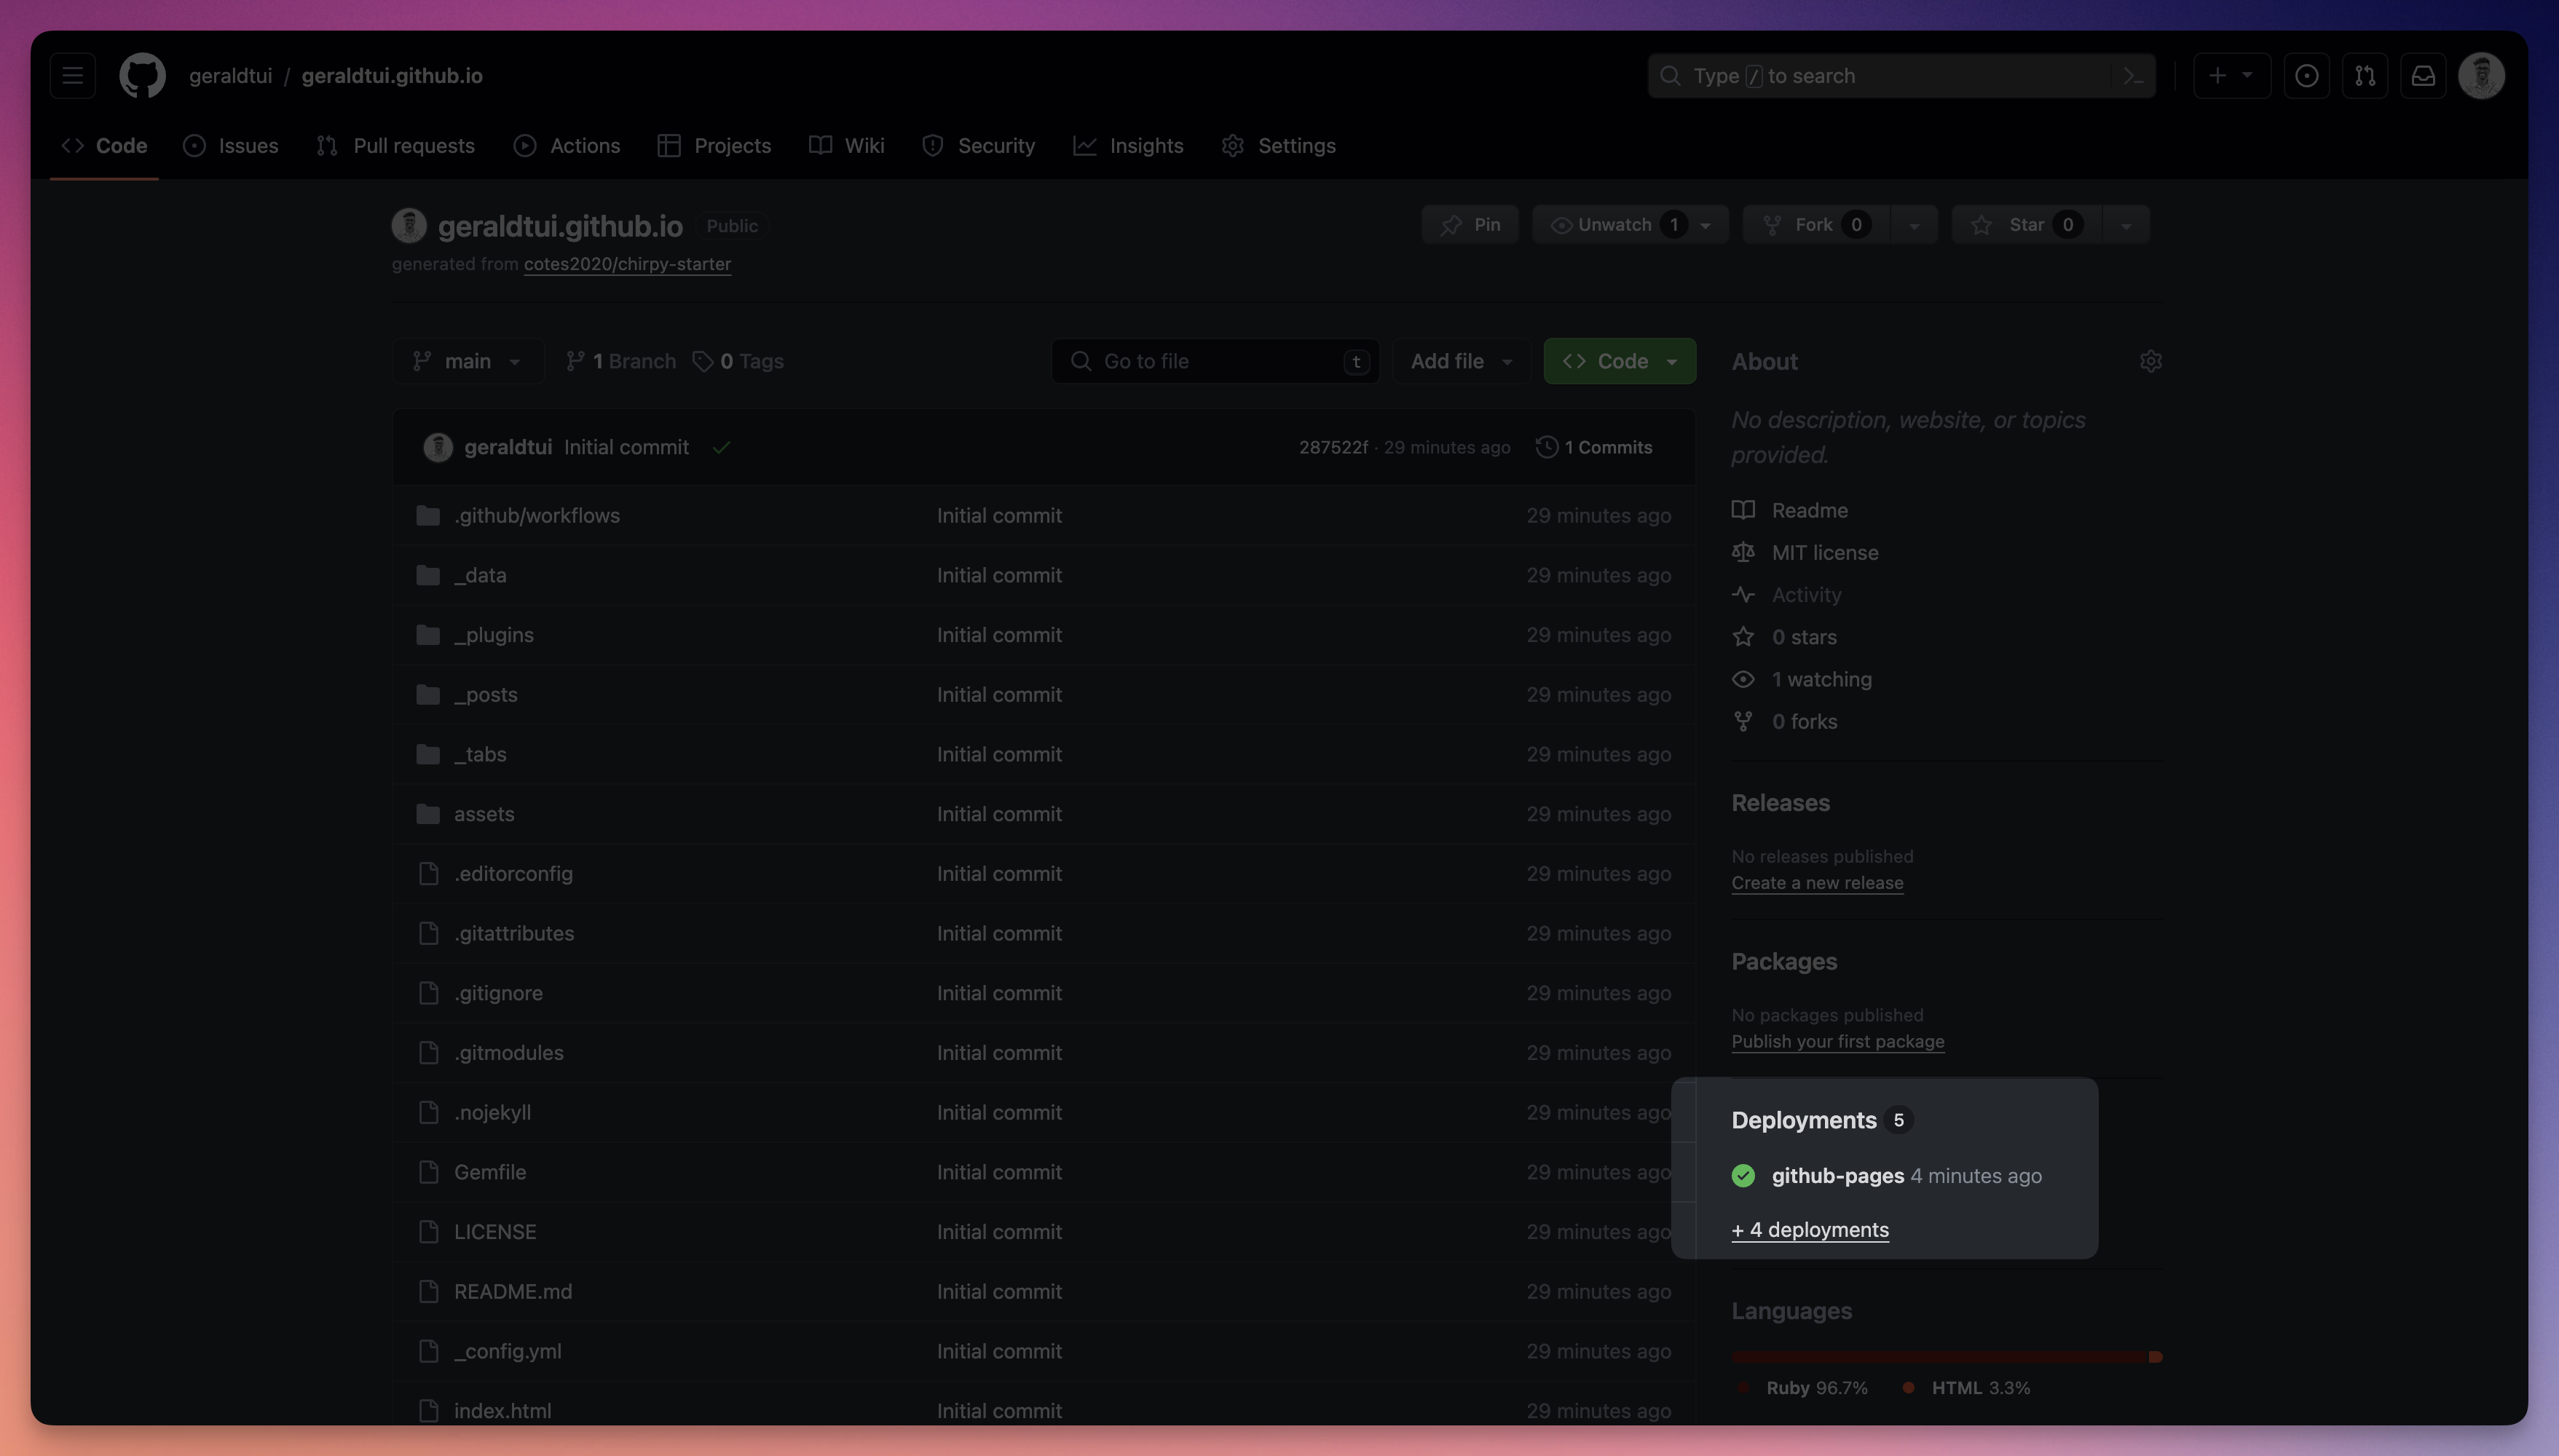
To check your site deployment status, go to the Code section of your GitHub repository. Find the deployment status at the bottom right of the page and click for more details.
Time to Customize
Step 1: Clone the repo to your local machine
1
git clone git@<YOUR-USER-NAME>/<YOUR-REPO-NAME>.git
Step 2: Install Chirpy Dependencies
1
2
cd <repo name>
bundle
Step 3: Update Configuration
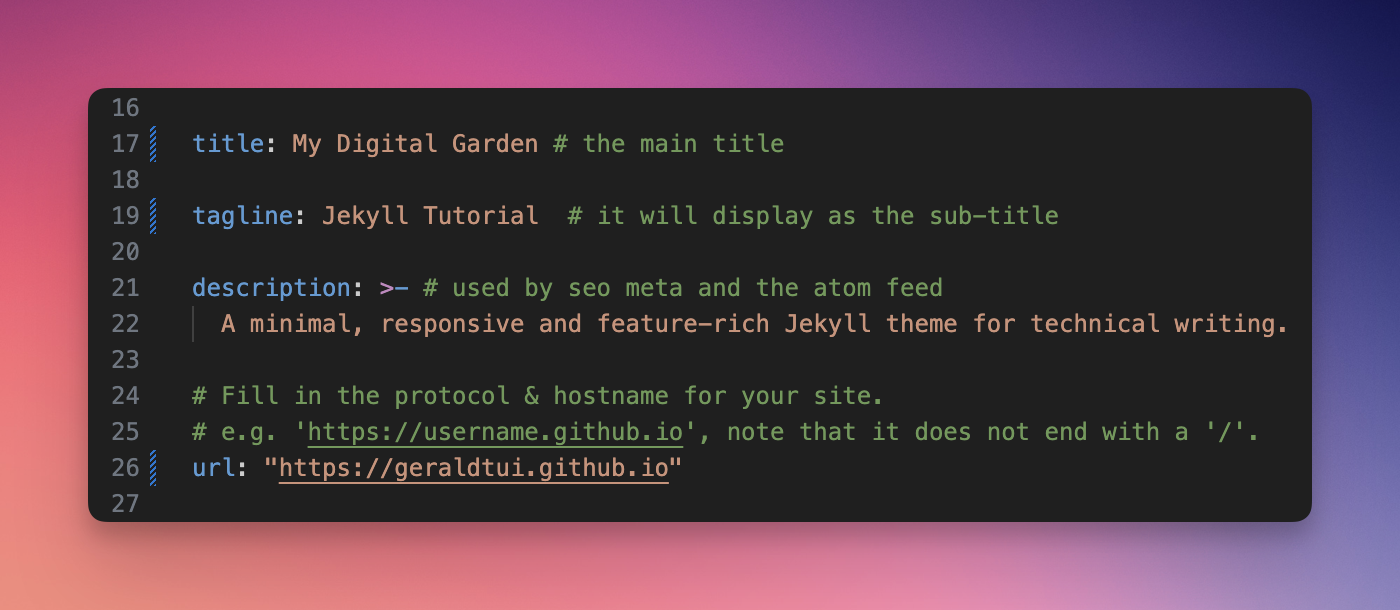
In the root directory, edit _config.yaml to set these basic properties. While there are many other properties that can alter the site’s configuration, these will suffice for now.
title= your website title (line 17)tagline= line that will go under the title (line 19)url= your github pages site (line 26)name= used as author for all posts (line 37)
Step 4: Run Local Server
1
bundle exec jekyll s
This should start the site on http://127.0.0.1:4000
 _Site after updating _config.yaml
Create Your First Post
We write all posts in markdown language (.md) and keep them in the _posts folder.
Step 1: Install Jekyll plugins
Jekyll has some cool plugins that help you whip up post templates super quick.
To your Gemfile in the root directory, add this line:
1
gem 'jekyll-compose', group: [:jekyll_plugins]
Re-run the bundle command to install the Jekyll plugins:
1
bundle
Run this to create a new post:
1
bundle exec jekyll post "Hello World"
It will generate a new markdown file in _posts. Notice the naming convention YYYY-MM-DD-hello-world.md
Step 2: Add These Properties To Your Post
Give it a category and some tags
1
2
categories: [category]
tags: [tag1, tag2]
Step 3: Add Markdown Text
1
2
# Like, Comment, Subscribe
If you find value in this how-to doc. [Subscribe](https://www.youtube.com/@geraldtui8445?sub_confirmation=1) to my YouTube channel for more tutorials just like this one. 👍
Deploy to GitHub
Commit and push your changes to your github remote repo to automatically deploy your site.
Checkout the official Git Documentation if you need.
Markdown Help
Check the Markdown Cheat Sheet
Checkout the official Chirpy docs for specific Chirpy syntax 👉 https://chirpy.cotes.page/posts/write-a-new-post/


